Authentication
In this section we will learn how to protect your routes using layouts and guards.
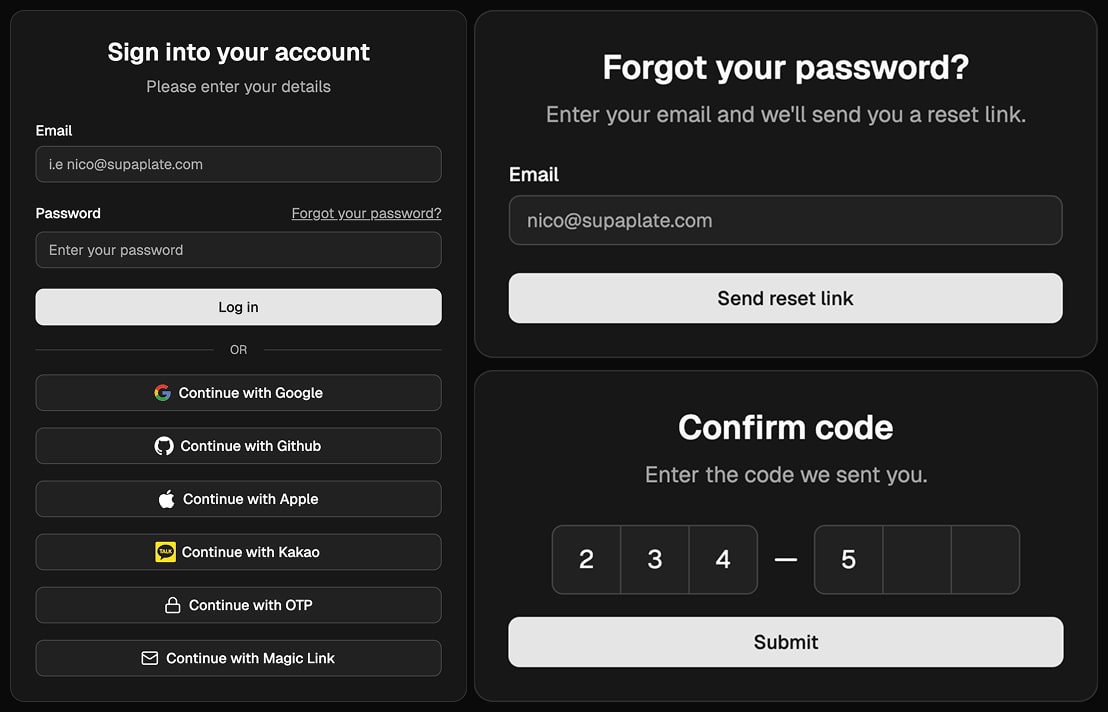
Supaplate supports Supabase's authentication features.
It has support for email/password authentication, social login, magic link authentication and OTP authentication.
Custom SMTP
Make sure you have set up a custom SMTP server so that you don't hit Supabase's email provider limits.
Setup
Follow the Supabase's Authentication Guide to enable the authentication providers you want to use.
Supabase comes with a couple of social authentication buttons, Kakao and Github in the Login and Register pages, but they don't work out of the box, you need to configure them.
Layouts
To give you a quick way to protect routes, Supaplate comes with two layout files you can use: ./app/core/layouts/private.layout.tsx and ./app/core/layouts/public.layout.tsx.
These layouts add no extra UI, they just have a loader that checks the user's authentication status.
private.layout.tsx
It gets the user's information from the Supabase client and if the information is null, which means the user is not logged in, it redirects to the login page.
Ideal for protecting routes that should only be accessible to logged in users.
public.layout.tsx
It gets the user's information from the Supabase client and if the information is not null, which means the user is logged in, it redirects to the /dashboard route.
Ideal for routes that should only be accessible to logged out users like the login and register pages.
Using the layouts
To use the layouts, you need to wrap your routes in them in the routes.ts file.
// example routes.ts
import {
  type RouteConfig,
  index,
  layout,
  prefix,
  route,
} from '@react-router/dev/routes'

export default [
  index('home.tsx'),
  layout('core/layouts/private.layout.tsx', [
    route('/dashboard', 'dashboard.tsx'),
  ]),
  layout('core/layouts/public.layout.tsx', [
    route('/login', 'login.tsx'),
    route('/register', 'register.tsx'),
  ]),
] satisfies RouteConfig
Because of the structure of the routes, there may be a time when you need to re-use the same layout for different routes, if you do this, make sure to add an id to avoid React Router throwing an error.
// example routes.ts
import {
  type RouteConfig,
  index,
  layout,
  prefix,
  route,
} from '@react-router/dev/routes'

export default [
  index('home.tsx'),
  layout('core/layouts/private.layout.tsx', [
    route('/dashboard', 'dashboard.tsx'),
  ]),
  layout('core/layouts/public.layout.tsx', [
    route('/login', 'login.tsx'),
    route('/register', 'register.tsx'),
  ]),
  ...prefix('blog', [
    layout('core/layouts/private.layout.tsx', { id: 'blog-private' }, [
      route('/members', 'members.tsx'),
    ]),
    layout('core/layouts/public.layout.tsx', { id: 'blog-public' }, [
      route('/public', 'public.tsx'),
    ]),
  ]),
] satisfies RouteConfig
API Route Authentication
You could use the layouts to protect your API routes, but I recommend treating your API routes as public and use the guards in ./app/core/guards.server.ts to protect them.
// ./app/core/guards.server.ts
import { data, unstable_RouterContextProvider } from 'react-router'

import { userContext } from './contexts.server'

export function requireAuthentication(context: unstable_RouterContextProvider) {
  const user = context.get(userContext)
  if (!user) {
    throw data(null, { status: 401 })
  }
}

export function requireMethod(method: string) {
  return (request: Request) => {
    if (request.method !== method) {
      throw data(null, { status: 405 })
    }
  }
}
There are two guards, requireAuthentication and requireMethod.
The requireAuthentication guard will throw a 401 error if the user is not authenticated.
The requireMethod guard will throw a 405 error if the request method is not the one specified.
You can use them to protect your API routes like this:
// example ./app/features/users/api/get-user.ts
import { requireAuthentication, requireMethod } from '~/core/guards.server'

export async function loader({ context }: Route.LoaderArgs) {
  const [client] = makeServerClient(request)
  await requireAuthentication(client)
  // your loader code here
}

export async function action({ context }: Route.ActionArgs) {
  requireMethod('POST')(request)
  const [client] = makeServerClient(request)
  await requireAuthentication(client)
  // your action code here
}
Social Login Triggers
Back in the Setup section, when you ran the npm db:migrate for the first time you created a handle_sign_up function and a trigger in the auth.users table.
CREATE OR REPLACE FUNCTION handle_sign_up()
RETURNS TRIGGER
LANGUAGE PLPGSQL
SECURITY DEFINER
SET SEARCH_PATH = ''
AS $$
BEGIN
    IF new.raw_app_meta_data IS NOT NULL AND new.raw_app_meta_data ? 'provider' THEN
        IF new.raw_app_meta_data ->> 'provider' = 'email' OR new.raw_app_meta_data ->> 'provider' = 'phone' THEN
            IF new.raw_user_meta_data ? 'name' THEN
                INSERT INTO public.profiles (profile_id, name, marketing_consent)
                VALUES (new.id, new.raw_user_meta_data ->> 'name', (new.raw_user_meta_data ->> 'marketing_consent')::boolean);
            ELSE
                INSERT INTO public.profiles (profile_id, name, marketing_consent)
                VALUES (new.id, 'Anonymous', TRUE);
            END IF;
        ELSE
            INSERT INTO public.profiles (profile_id, name, avatar_url, marketing_consent)
            VALUES (new.id, new.raw_user_meta_data ->> 'full_name', new.raw_user_meta_data ->> 'avatar_url', TRUE);
        END IF;
    END IF;
    RETURN NEW;
END;
$$;

CREATE TRIGGER handle_sign_up
AFTER INSERT ON auth.users
FOR EACH ROW
EXECUTE FUNCTION handle_sign_up();
This trigger and function are used to create a profile for the user in the profiles table when they sign up.
The trigger is set to run after a row is inserted into the auth.users table.
When users are creating an account with user and password they can consent to receive marketing emails (marketing_consent column in the profiles table).
When they sign up with a social provider the marketing_consent column is set to TRUE by default, you can change this in the handle_sign_up function.
Users are also able to update their marketing_consent column in the /account/edit page.