Emails
In this section we will learn how to send emails in Supabase using a custom SMTP server.
We will also learn how to remove the default email templates from Supabase and use our own, prettier ones.
Custom SMTP
By default Supabase will send emails to the users when they sign up, confirm their email, reset their password, etc. using a their own email provider.
Supabase's email provider is not meant for production use and has many limitations.
We highly recommend using a third party email provider for production use like Resend.
Testing Emails
If you want to run the E2E test suite locally, we highly recommend setting up a third party email provider like Resend so that you don't hit Supabase's email provider limits.
Configuration
Resend sends emails from a domain name you own, so you will need to buy one first.
You can buy a it from any domain registrar, we recommend using Namecheap.
Once you have your domain name, open an account at Resend and follow this guide to verify your domain.
Use a subdomain
We recommend using a subdomain for your domain name, for example mail.yourdomain.com.
Once your domain is verified, you will need to create an API key following this guide.
Put the API key in the .env file as RESEND_API_KEY.
# exampleRESEND_API_KEY="re_1234567890"
Then go to your project's SMTP Settings and configure the SMTP server with the following values:
- Host:
smtp.resend.com - Port:
465 - Username:
resend - Password:
your_resend_api_key
Email Templates
Supaplate comes with a set of react email templates for the most common emails.
You can find them in the ./transactional-emails/emails directory.
When editing or adding new email templates run the react email dev server for a better developer experience.
cd ./transactional-emailsnpm install # only the first timenpm run dev
This will start the development server where you can preview the emails in your browser.
Supabase Authentication Emails
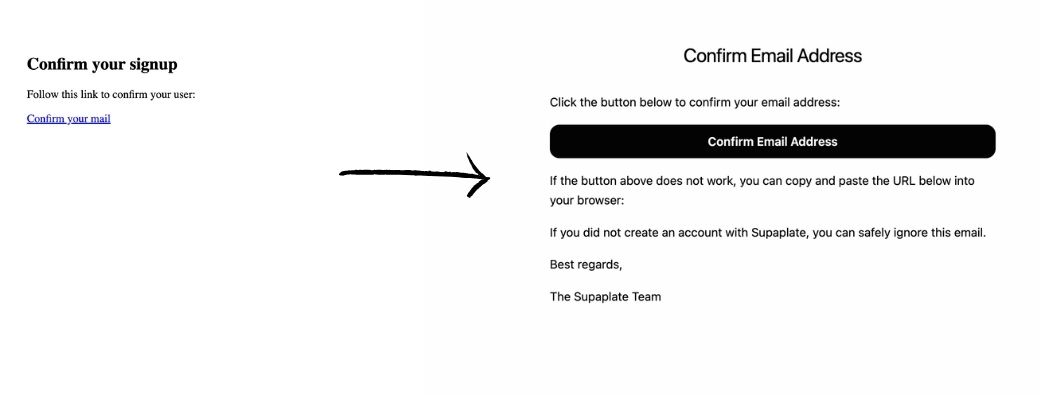
Supabase comes with a set of default email templates for the authentication emails, but they are not very good looking.
To use the better looking email templates provided by Supaplate, head over to ./transactiontal-emails/ and run npm run export, this will generate the HTML files in the ./transactional-emails/out directory, where you will find the following templates:
out/├── change-email.html├── confirm-email.html├── magic-link.html└── reset-password.html
Then go to the Authentication Email Templates page in the Supabase dashboard.
Copy paste the content of the change-email.html, confirm-email.html, magic-link.html and reset-password.html files into the corresponding templates in the Supabase dashboard.
If you want to modify the provided templates, edit the files in the ./transactional-emails/emails directory and when you are done run the npm run export command to rebuild the ./transactional-emails/out directory, then, copy paste the new files into the Supabase dashboard.
Other emails don't need `npm run export`
The npm run export should only be used for the authentication emails.
This is because we need the authentication emails as HTML files so we can copy paste them into the Supabase dashboard.
To send other emails (transactional emails) and since we are using Resend, the 'compilation' to HTML is not necessary.
Transactional Emails
To send transactional emails you can use the Resend SDK and use the React Email Component as your email template, completely removing the need for the npm run export command.
import { Resend } from 'resend'
import { Email } from './email'

const resend = new Resend('re_123456789')

await resend.emails.send({
  from: 'you@example.com',
  to: 'user@gmail.com',
  subject: 'hello world',
  react: <Email url="https://example.com" />,
})
Read more about it in the React Email documentation.